
Today we’re going to walk step by step through how you can upload Q-SYS Designer files, User Components, and any other binary file type into a BitBucket repository to post on the QSC Communities Code Exchange. Using Bitbucket repositories may seem tedious at first, but the benefits outweigh the effort by far. It offers great advantages for the whole community compared to sharing a file in a forum in a group or on social media.
- It keeps track of versioning, for any type of file, not just text-based code.
- When made public, it allows for contributions from others in the community.
- It automatically tracks authorship and contributions.
- When published on the Code Exchange, it is vetted by QSC and made easily searchable for everyone in the community.
Let’s get started!
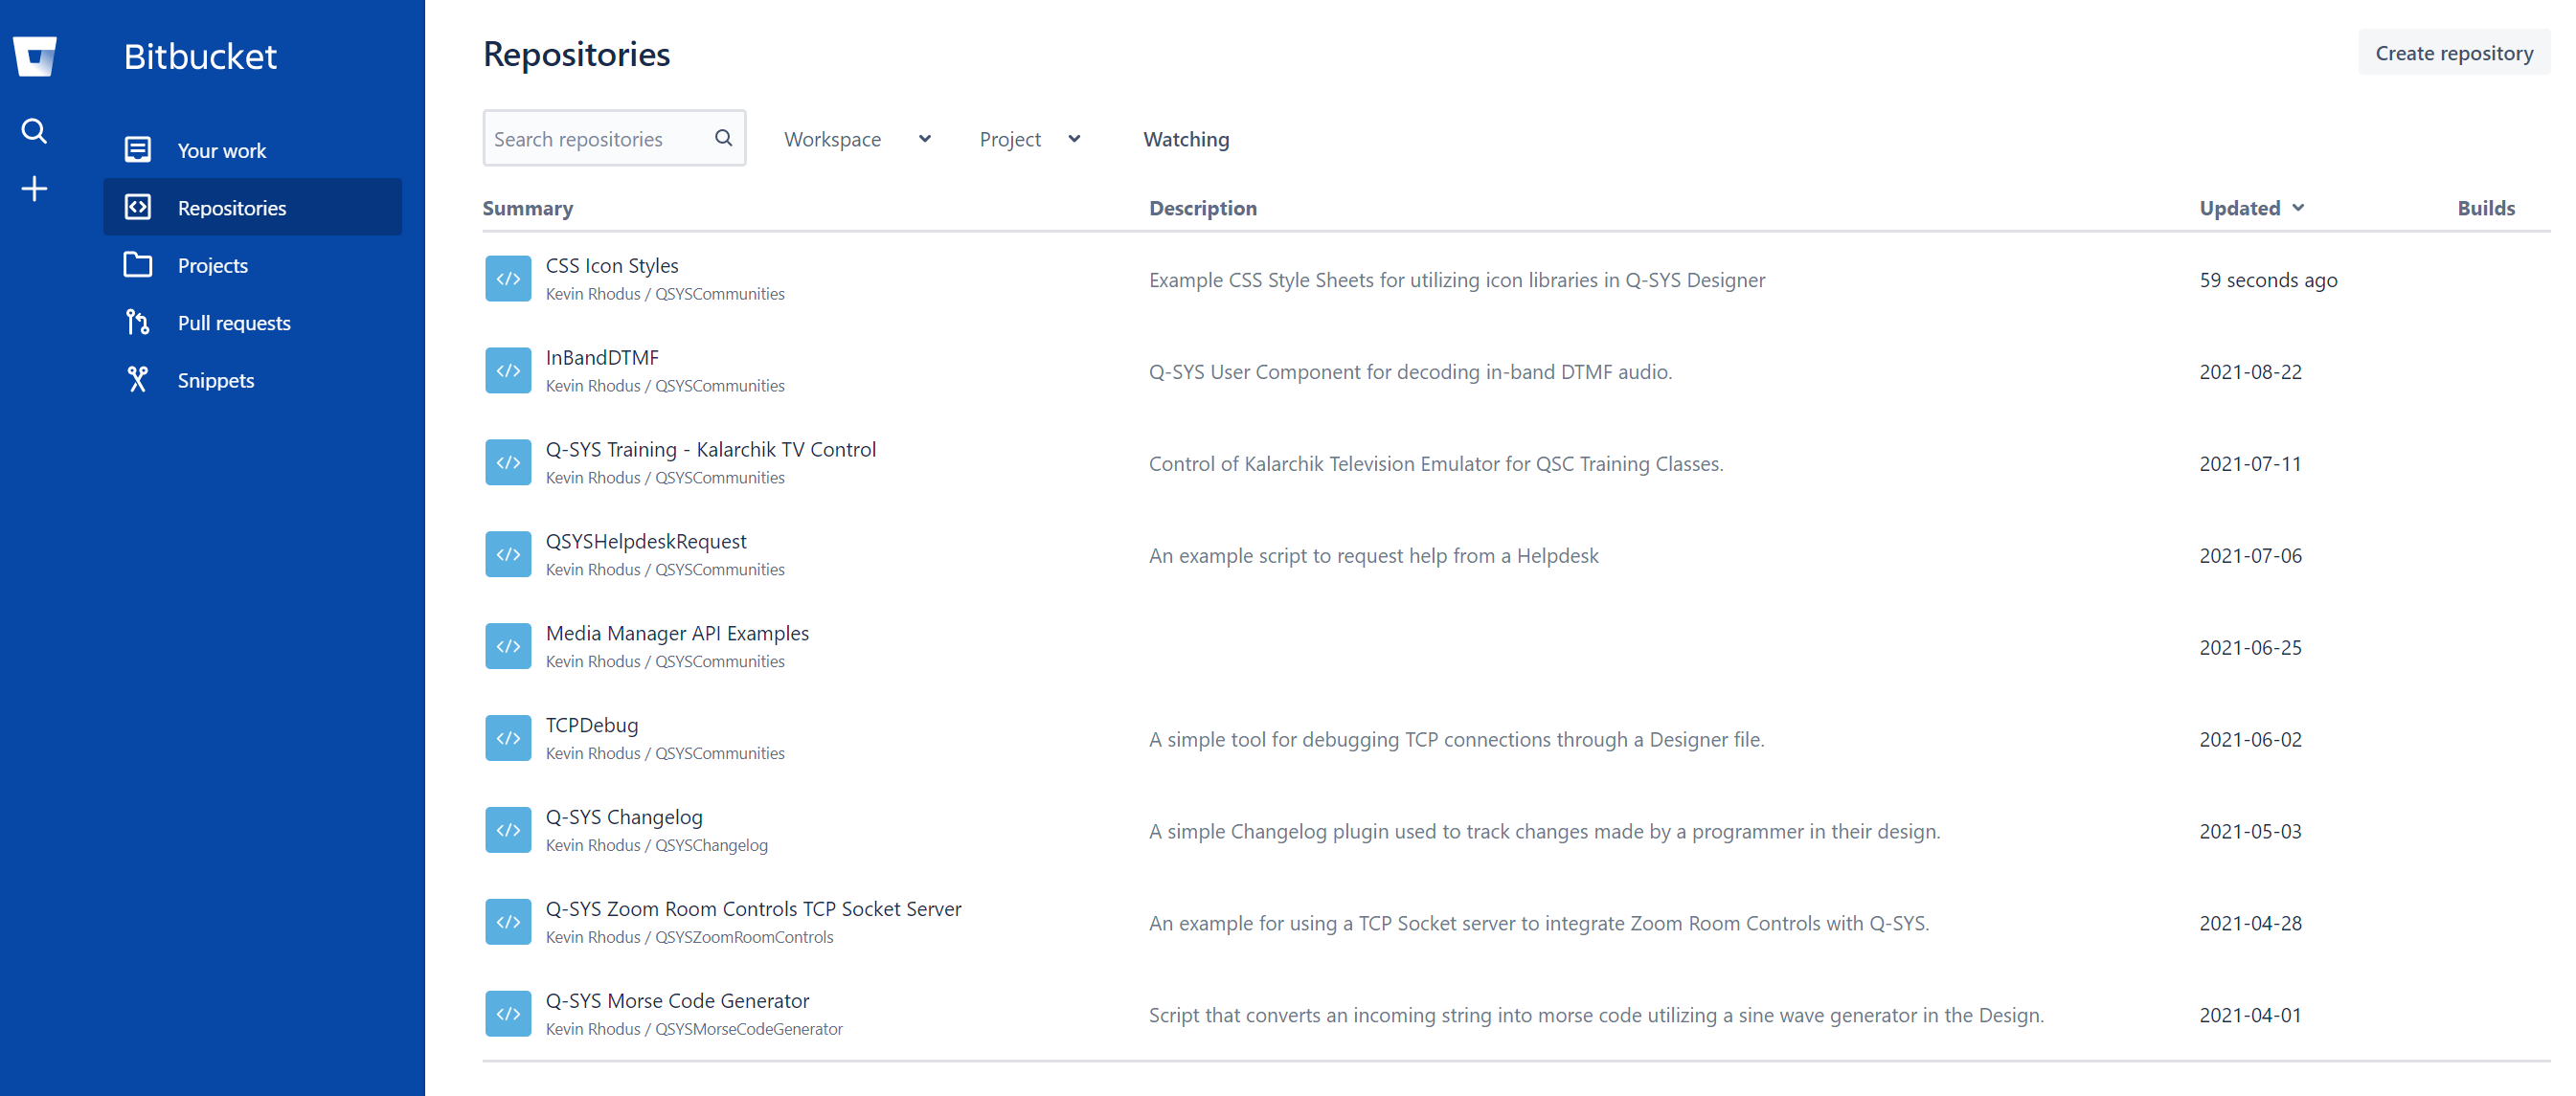
Step 1: Create an Account on BitBucket.org. Once created, navigate to the “Repositories” section and click on “Create Repository” in upper right corner.
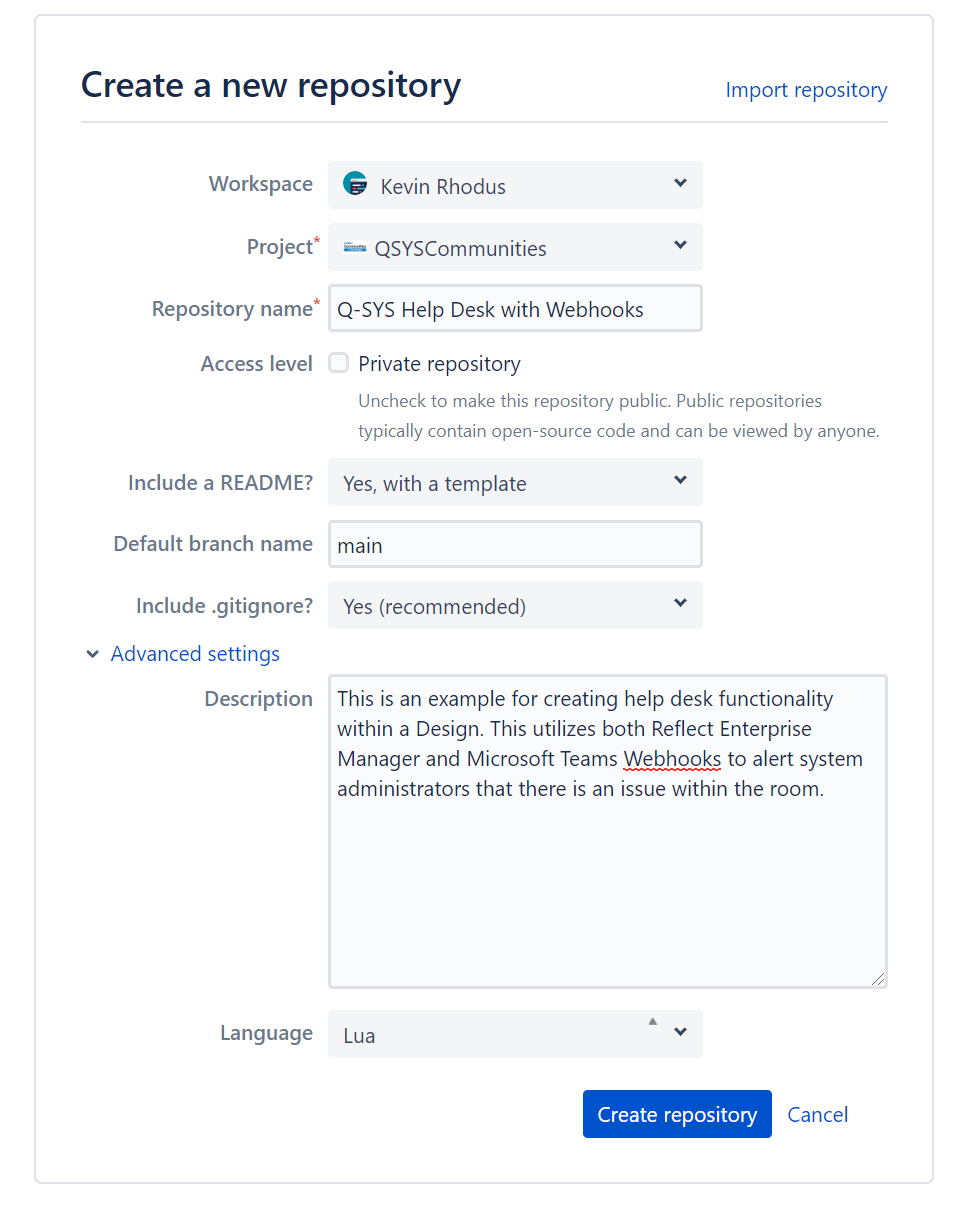
Step 2: Select or Create a project that the repository will be contained within and a name for the repository. Make sure to set the Access level to public by unchecking “Private repository”.
Step 3: Install the SourceTree application and connect it to your BitBucket account.
Connect Your Account Instructions
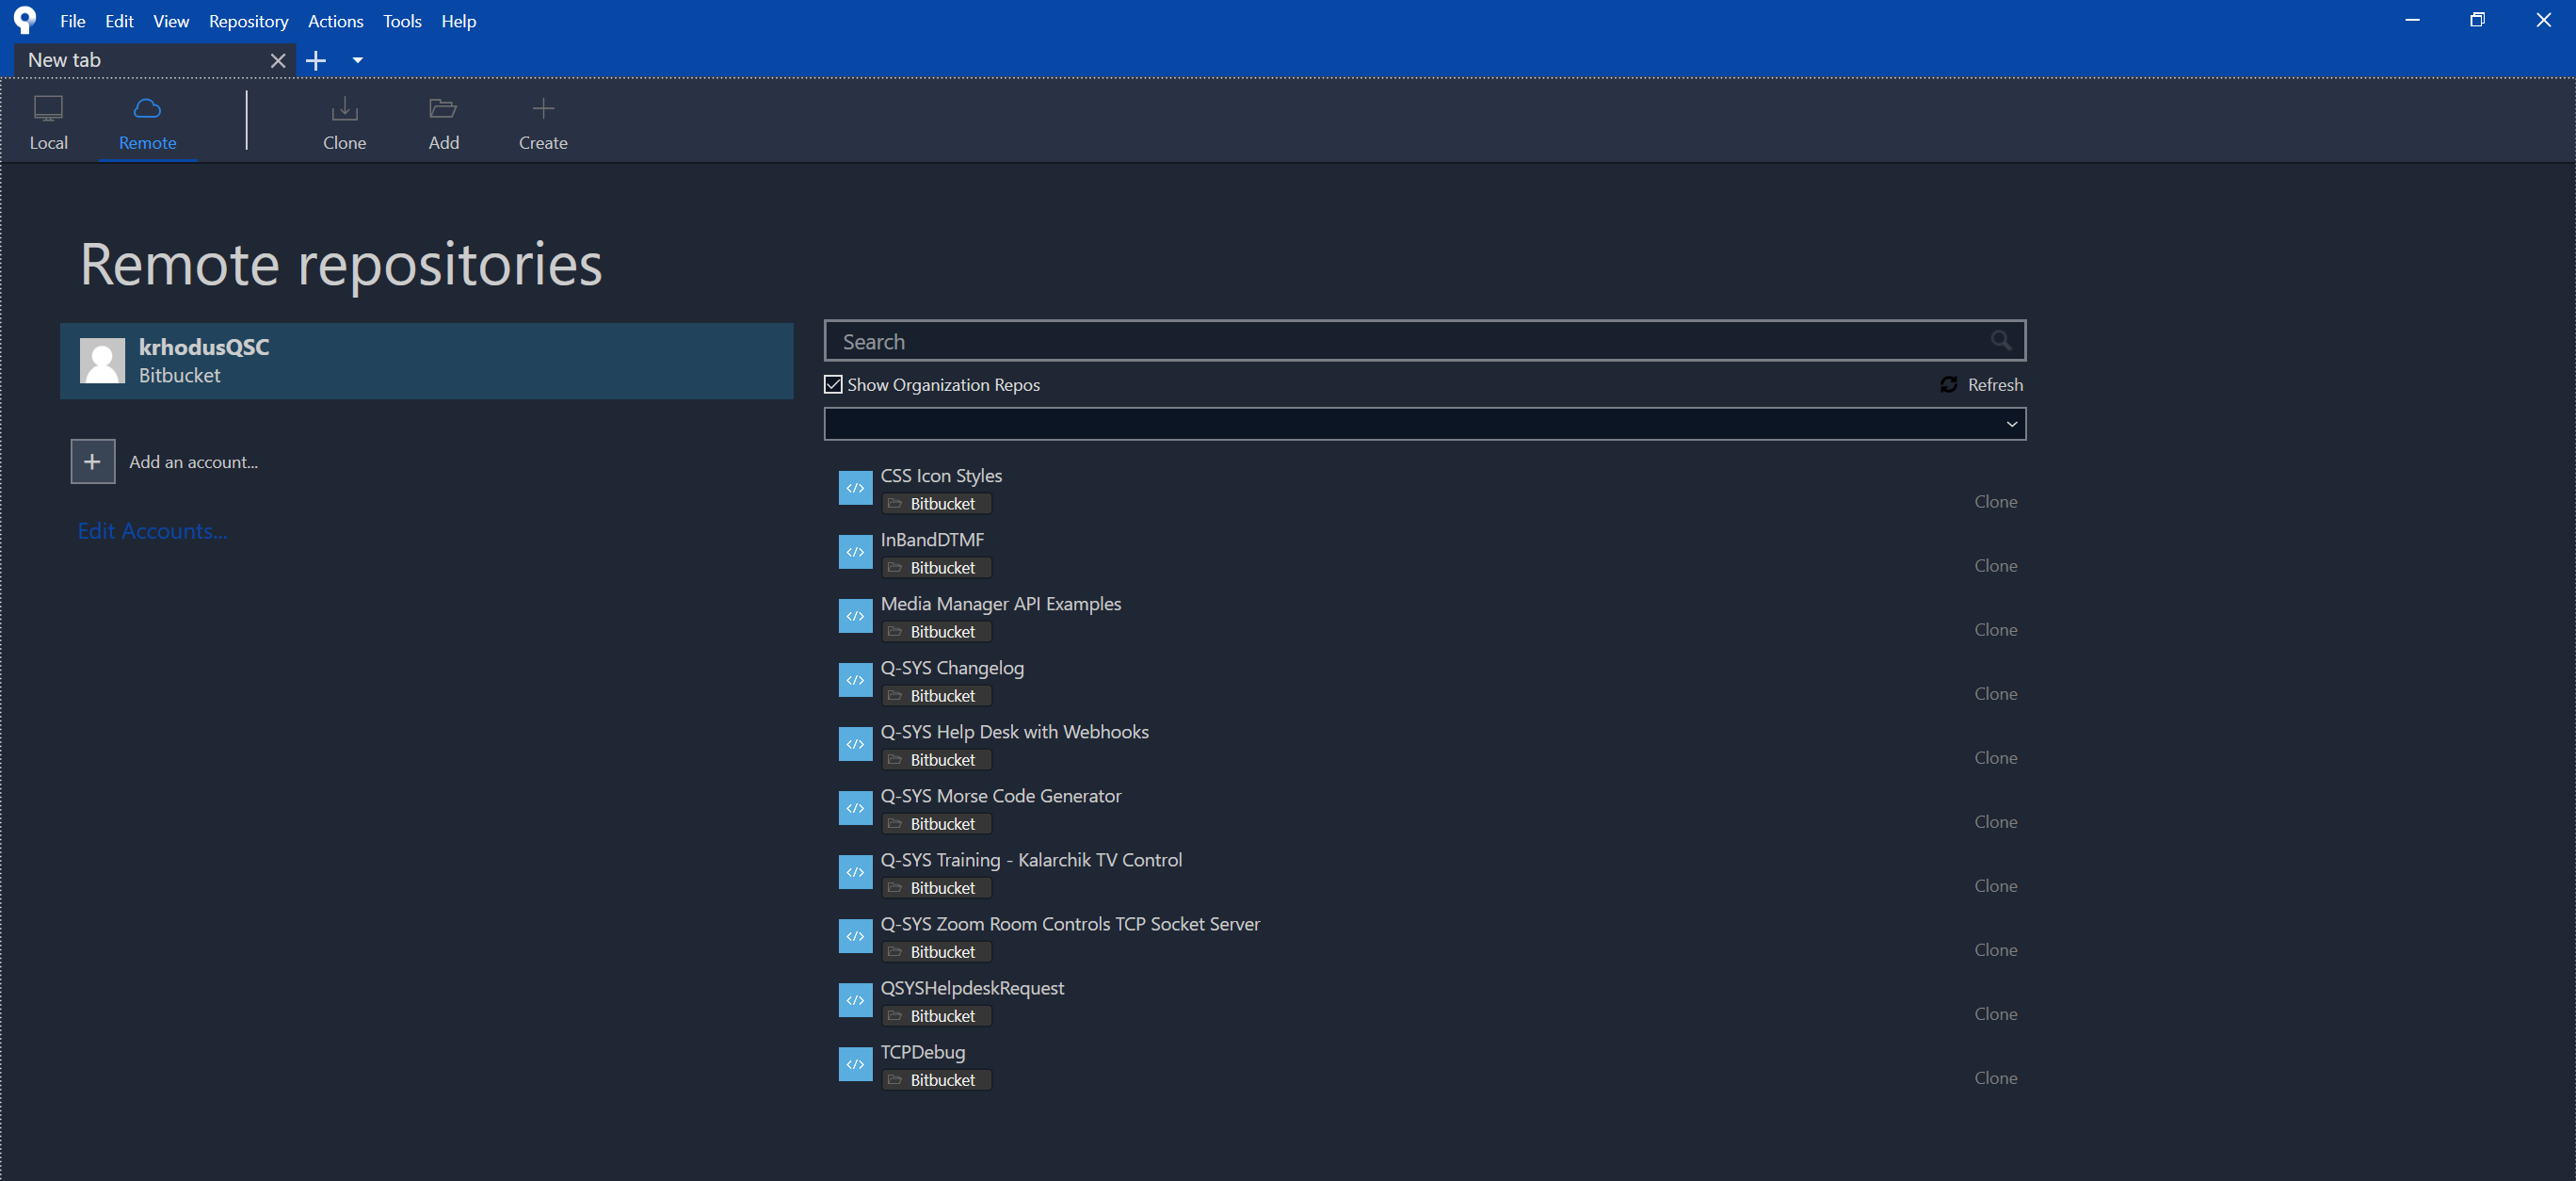
Step 4: In SourceTree, select Remote Repositories to load a list your BitBucket repositories available in the cloud. Select “Clone” on the repository you wish to create a local copy of on your PC.
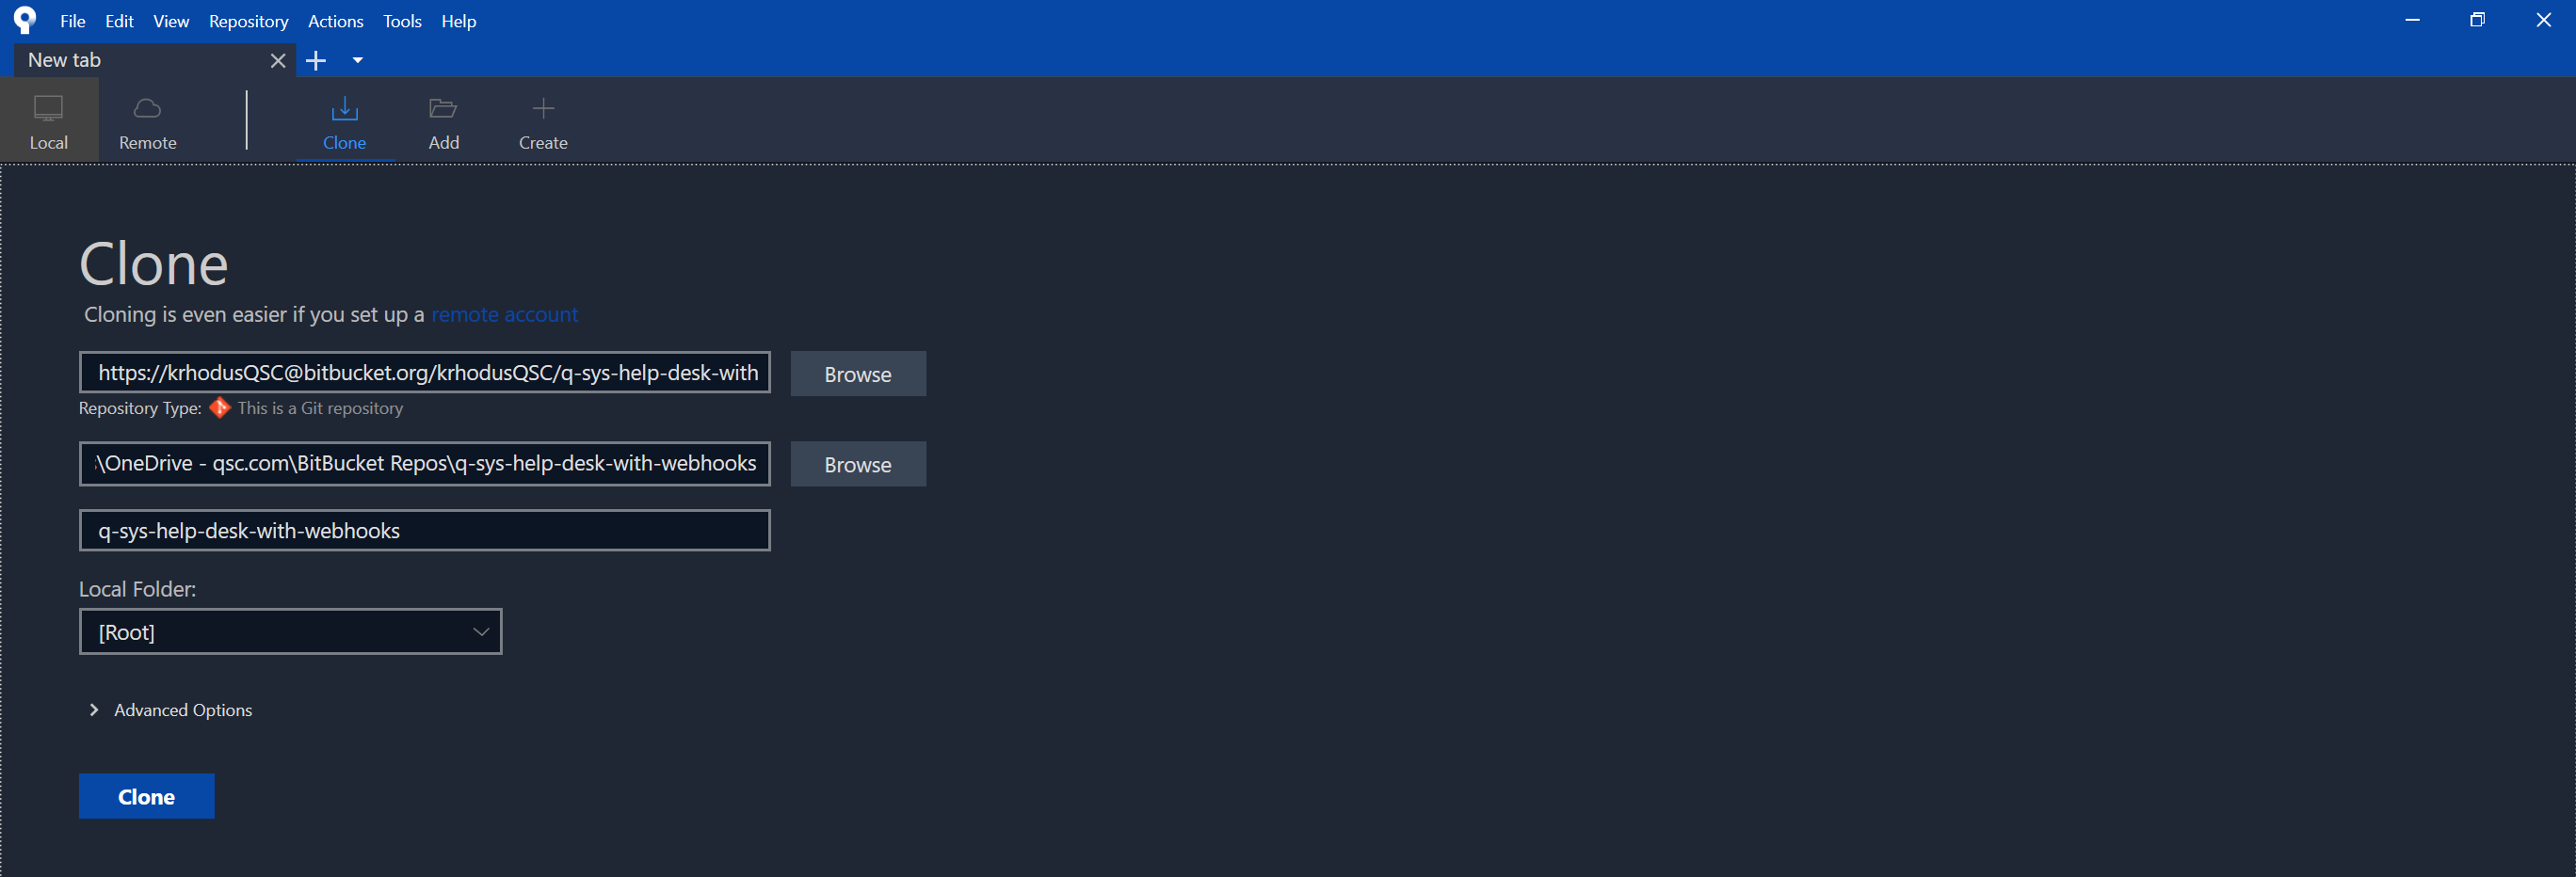
Step 5: Choose the location you wish to store the repository on your local PC and select “Clone”. This will create a local version of all files in the repository on your PC.
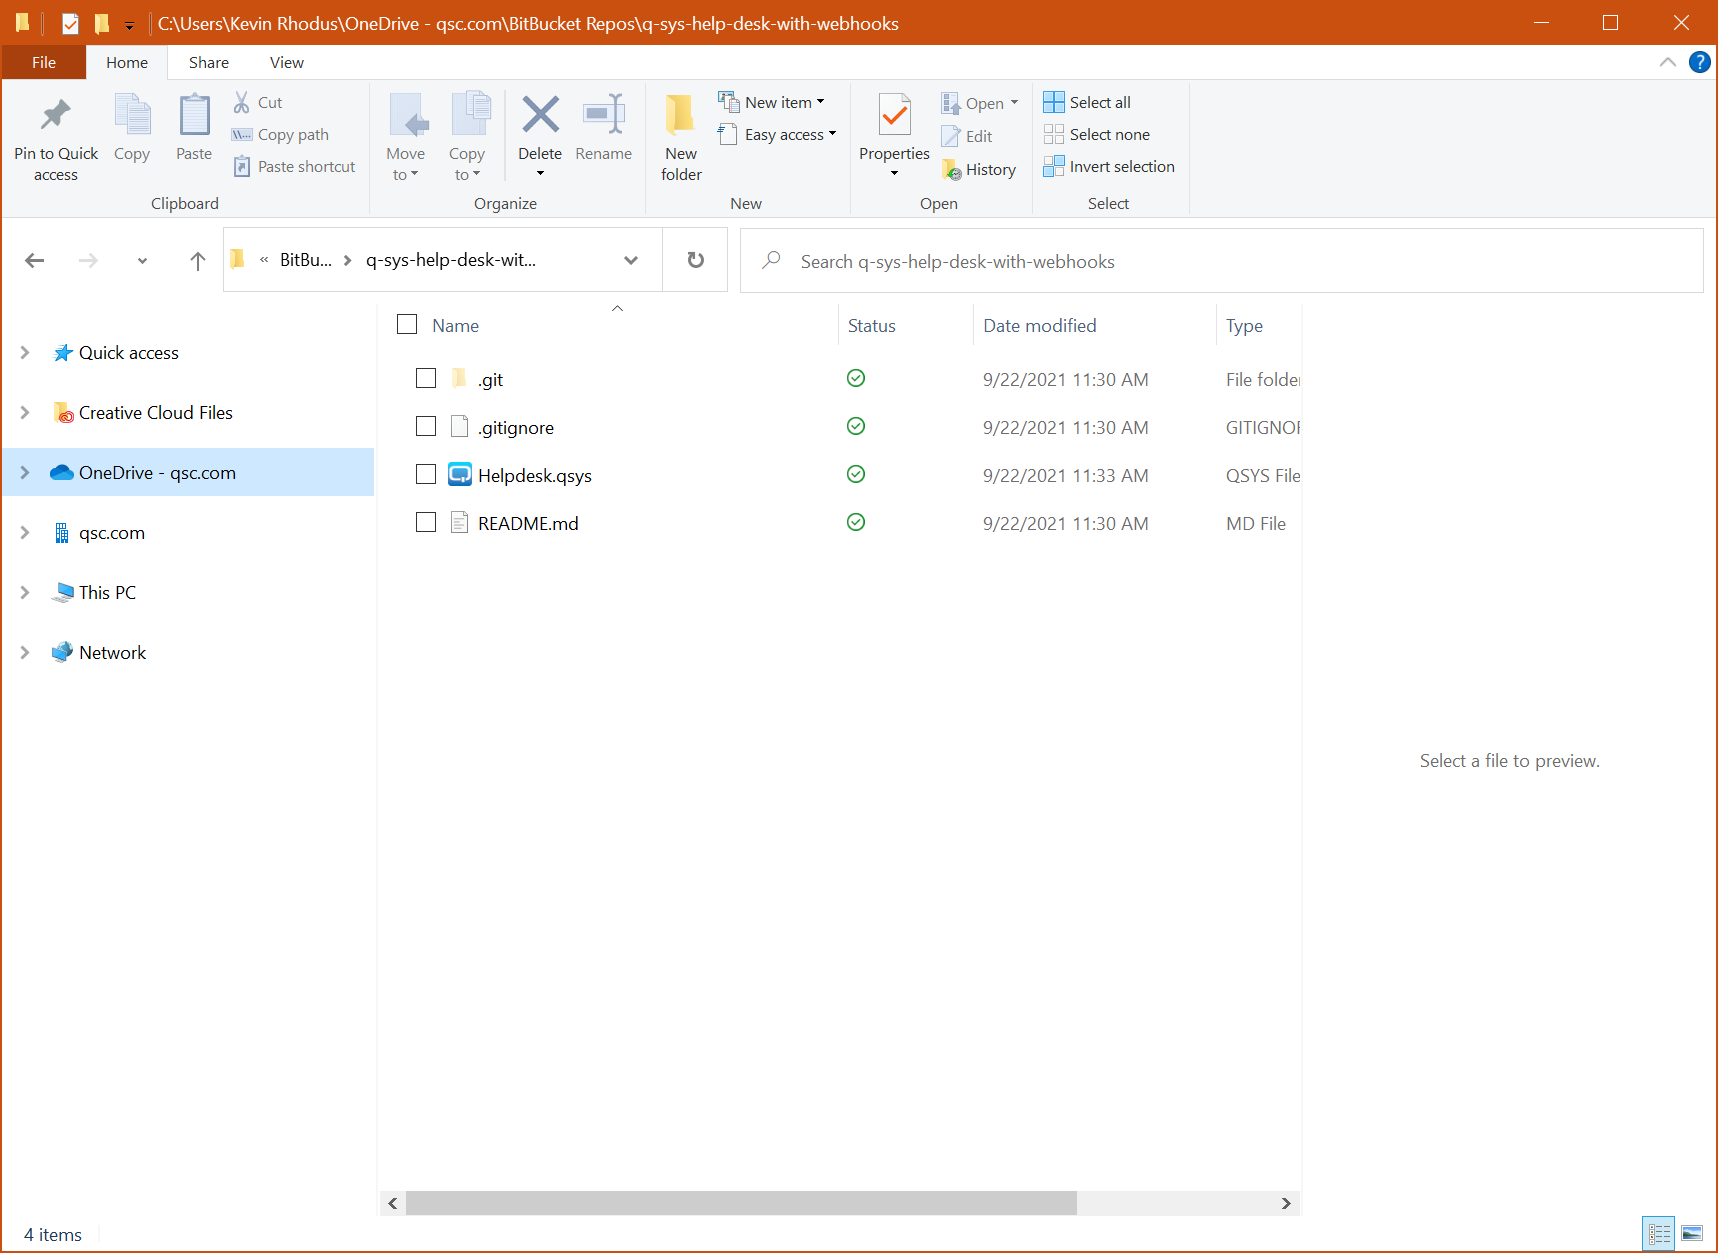
Step 6: Modify or add any files you wish to upload to the repository in the local folder on your computer.
Step 7: The files updated or added now appear in the “Unstaged Files” section in SourceTree. Click on “Stage All” or select the individual files you wish to upload to the repository. This will move them into the “Staged files” section.

Step 8: At the bottom of the window, add a description of the changes you have made in the comment section. Select “Push changes immediately to origin/main” to automatically merge the changes into the main branch of your repository (If you do not select this option, you will have to create a pull request to merge the changes). Finally, press “Commit” to upload the files to the repository.

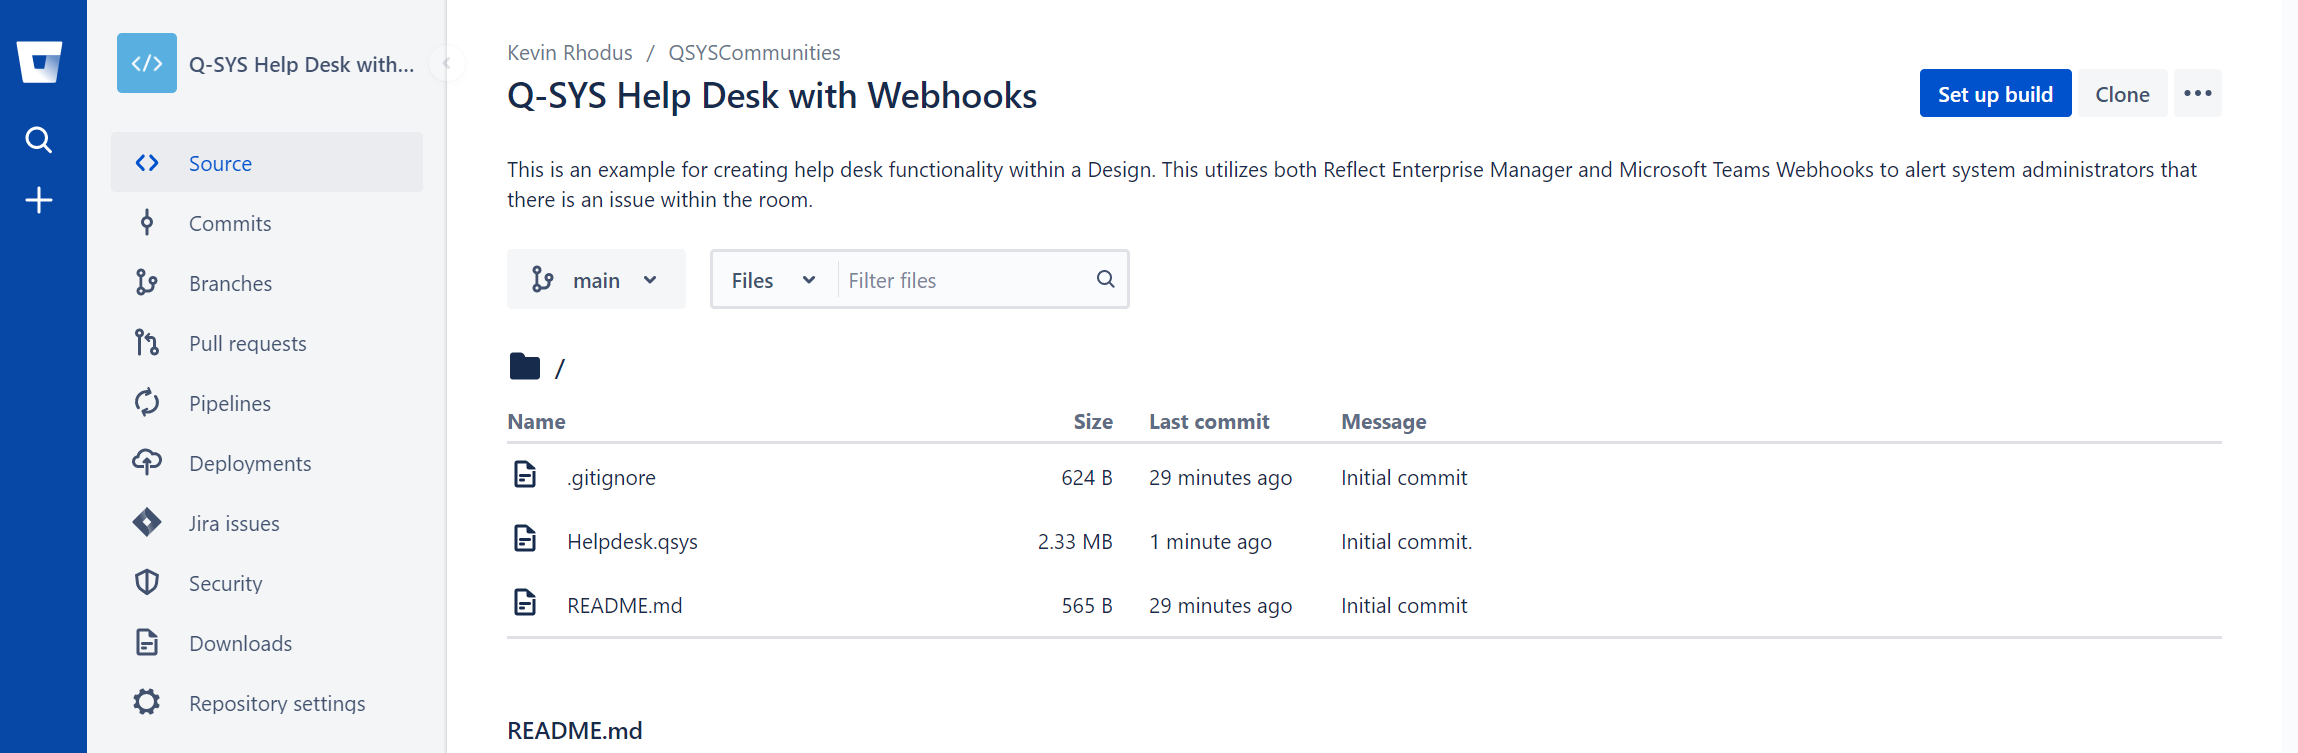
Step 9: The files are now successfully merged into the main branch of the repository. You can now edit the ReadMe document to provide a description of your file and any instructions necessary. The readme is authored in the markdown language (the name of that file cannot be changed in order to be picked up by the Code Exchange).
Step 10: Finally, navigate to the Code Exchange on QSC Communities and select “Submit” in the upper right corner. Fill in the link to the BitBucket repository and add tags related to your project as well as contributors. Finally hit submit and you’re finished! QSC will look at the code before approving the submission to appear on the Code Exchange. You will be notified if the submission is rejected. If you make updates to the README.MD file, it is recommended to re-submit the repository to notify QSC of the changes.

Kevin Rhodus
Derniers articles parKevin Rhodus (voir tous)
- Deep Dive: Named Component Update in Q-SYS Designer 9.5 - September 27, 2022
- The Tool Shed: Sharing Files on the Exchange with Bitbucket - October 1, 2021
- Supercharge your Q-SYS Video Conferencing GUI (with one simple component) - July 9, 2021