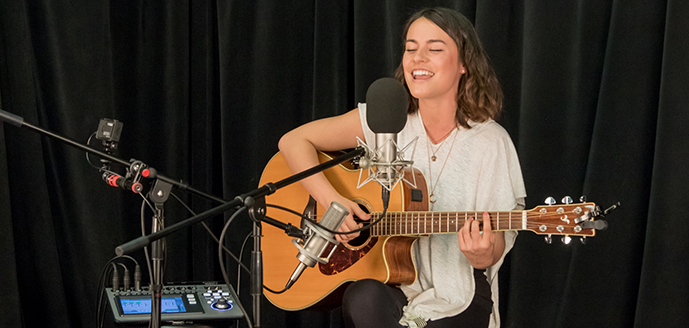
Check out the sweet sounds of independent singer songwriter Raelee Nikole, performing her song, “Dreamin‘” recorded and mixed on the TouchMix-8:
The TouchMix is the perfect mixer for recording and mixing the audio for live performance videos. It enables you to record and mix your songs and then import your final mixed stereo file directly into your video-editing software such as iMovie, Final Cut Pro, Adobe Premier. Vegas, etc. Or if you prefer, your can import the multi-tracks recorded by the TouchMix directly into your DAW (Digital Audio Workstation) and mix it there. Either way the TouchMix makes it easy.
Here’s a step by step process of how the audio was recorded and mixed for Raelee’s video:
- Connect inputs (microphones, instruments) to TouchMix and set your input levels.
Raelee’s inputs: Input 1 – Mic (vocals), Input 2 – Mic (guitar), Input 3 – direct instrument via DI box. - Adjust your preamp input gain levels and/or use TouchMix’s Gain Wizard to help set your input levels.
- Connect your hard drive to the TouchMix, create a new session from the Record/Playback page, “arm” the tracks, press record and record the song while shooting video with one or more cameras.
- Playback the recorded tracks through TouchMix and create your mix. You can start by loading Channel Presets and using the Effects Wizard to add reverb and delay.
Download the TouchMix-8 mixer scene used for Raelee’s “Dreamin'” video
5. Record your final mix on the “2-Trk Rec” Stereo channel of the TouchMix.
6. Import your final stereo mix and video clips into your video production software (Final Cut Pro, Adobe Premier, Sony Vegas, etc.).
7. Edit and render your video then upload to your website or YouTube for your fans to enjoy!
Here are recommended TouchMix training videos for learning how to record and mix audio for video with the TouchMix:
Mixer Navigation
Preset Libraries & Mixer Scenes
FX Wizard
Gain Wizard
Recording Functions
Advanced Recording & Playback
Brad Zell
Neueste Artikel von Brad Zell (alle ansehen)
- Tito Jackson Using KW122 Powered Loudspeakers in Rehearsals for Upcoming Tour - September 7, 2016
- Fingerstyle Guitarist Joseph Balfe – Performance Video Recorded and Mixed on TouchMix - August 29, 2016
- Little Hurricane – Live Performance Videos with TouchMix - August 26, 2016
